When the engine of your generator starts acting up, the problem most likely lies in the carburetor. One of the reasons can be the leftover fuel in the carburetor. Since that conditioned fuel, with the addition of ethanol, became prevalent in the market, the issues related to the carburetor have increased.
This is because due to ethanol, the moisture is attracted to the carburetor, and it oxidizes the inner part of the carburetor, which results in a varnish that clogs the vents.
In this article, you will know how you can do the cleaning of the carburetor yourself, it is a fairly easy process, and while doing this, you will save time and money. Most of the carburetors are almost the same in different generators, and the steps we have described here apply to them as well; of course, some minor variations will be there based on the generator model you have.
Table of Contents
Why does the carburetor need to be cleaned?
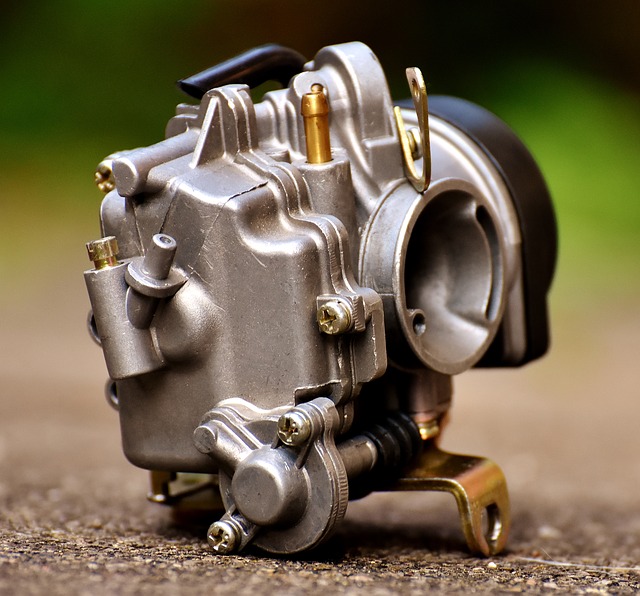
A carburetor in the generator is the key component. The engine works on a mixture of fuel and air. The carburetor is the place where the fuel and the air get mixed in proper proportions.
The carburetor is connected to the engine at its air intake through the air filter. The fuel then comes down from the tank, by a gasoline pump or due to the gravitational force, and eventually, it will flow from the carburetor to the engine.
The damaged or unclean carburetor can create many problems, and the most common problem is the inability of the generator to start. This can be due to the clogged intakes in the carburetor, which blocks the flow of fuel, and also of air.
Also, if there are problems with the carburetor, then the engine won’t work with constant torque and speed; this means the power won’t stay constant. The quality of the power will degrade.
To prevent these and few other related problems, you must clean the carburetor regularly.
When should you clean your carburetor?
You should clean the carburetor at regular intervals to keep your generator in good condition and ensure proper working. But, some things will suggest that your generator can’t function as intended until the carburetor is not cleaned.
As mentioned, cleaning is required if your generator refuses to start. This can be due to excessive dirt and build-up inside the carburetor. It won’t allow enough mixture of fuel and air to pass through. If this is the case, then the engine will try to start; it will crank up but won’t actually run.
Another sign that your carburetor needs cleaning is that when you hear the popping sound from the generator. This indicates that the air is more or the fuel is not enough, which means the proportion in the mixture of air and fuel is unbalanced. The most common reason for this is that there is not enough fuel reaching the carburetor.
If you see black smoke coming out of the exhaust pipe, then it is a sure shot signal that there is a problem in the carburetor, as it only happens if there is more fuel and less air. Here also, the mixture is not balanced. When this happens, it is said that the generator is running rich. It poses a risk of CO poisoning.
When the fuel inside the carburetor overflows, you will need to clean the carburetor, and you will see it coming out from the bowl vents. This is because the needle valve, which controls the fuel quantity to the carburetor, won’t function properly due to debris in the carburetor.
Now, if you have decided to clean the carburetor, then first, you will need to gather a few things essential to clean the carburetor properly. We have mentioned them in the next section.
Gather Important things for cleaning
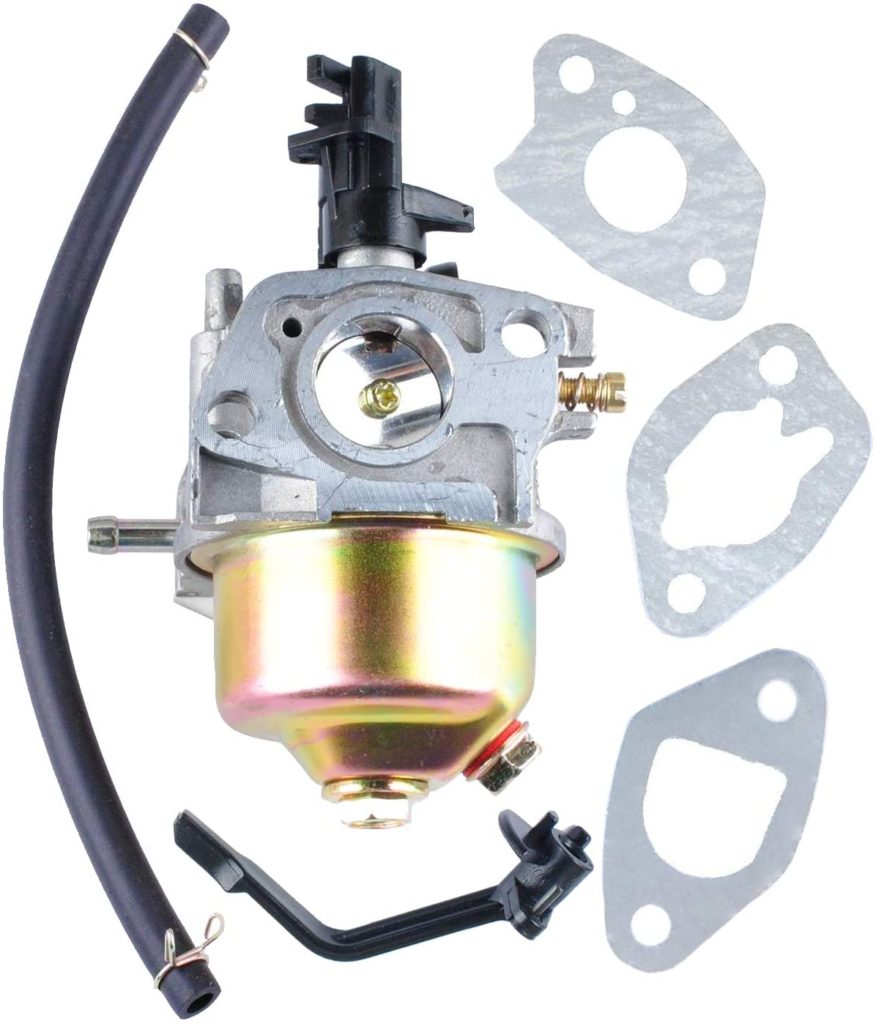
To clean the carburetor properly, you will need a carb cleaner and air blower to dry it after the use of carb cleaner. A rag, a fuel system cleaning additive, grease, and plastic mask for personal safety keep these things handy.
Also, you will need a screwdriver to operate on screws, a toothbrush, or something to scrub away the deposits and new rubber gaskets.
How to clean the carburetor without disassembling?
Suppose the time period when the carburetor was last cleaned is small or the generator is new and not much time has passed. In that case, you don’t need to take out the carburetor and take it apart as there won’t be much build-up inside, and it can be easily cleaned with the cleaner intended for regular maintenance of a fuel system.
The cleaner additive should be added to the gas tank, and it will clean the carburetor of some small residues. Also, you can take out the carburetor from the generator and pressurize the air from different valves and openings, and it will remove the clogs if there are any.
Cleaning the carburetor thoroughly
If it’s been a long time since you last cleaned your carburetor, then the simple cleaning won’t suffice. You will need to do a thorough cleaning by taking apart the carburetor. In this section, we have described the steps to do that.
1. Safely take out the carburetor
A carburetor is connected to the fuel line, so before you remove the fuel line, turn off the fuel valve, and to be extra safe, disconnect the spark plug too. Take off the fuel valve, collect the remaining fuel from the fuel line in some container.
By removing the screw from the drain valve, collect the fuel from the carburetor as well, you can store it in the same container.
After that, disconnect the vacuum tube and choke connections. Once it is done, the carburetor should be disconnected from the rest of the mechanism. Now it can be taken out by just removing the screws which hold it in place; when screws are unscrewed, twist the carburetor and take it out. Remove the air filter. While taking out the carburetor, be careful, as the gasket can get damaged.
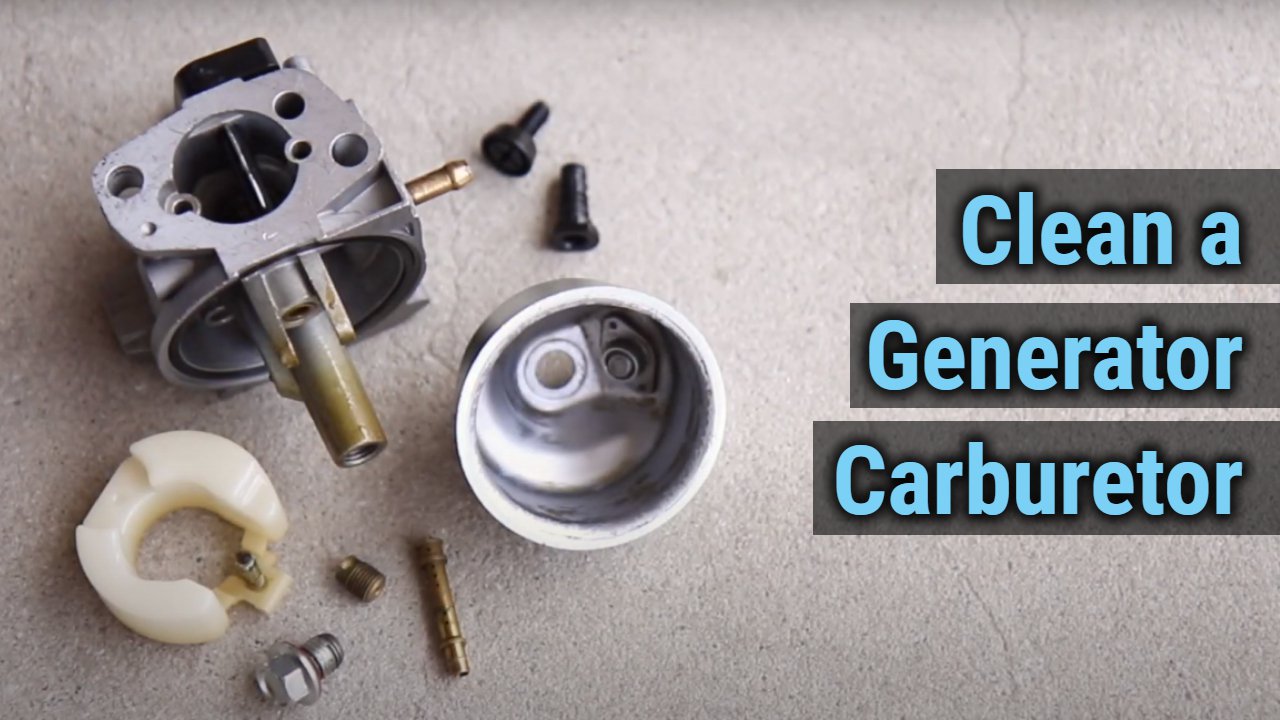
2. Clean the carburetor from outside
Once the carburetor comes out, the cleaning begins; you should start by taking off the float bowl. The bowl will be the hardest part to clean, as most of the stubborn build-ups will be inside that little cup.
Use the carb solution and the brush to properly remove it; if the brush doesn’t do the trick, you can use something else to scrub out the build-ups. Make it as clean as possible. Then use the air blow gun to dry it out and remove any other residues.
Once the bowl is clean, take up the matter with the carb part, clean the exterior of it, and use the carb cleaner by safely removing the float and the float pin. Now, it is time to move onto the cleaning of the interior; small parts with small holes need to be cleaned.
3. Clean different parts of the carburetor
Start the cleaning with the float and the float needle you took off. Inspect the needle seat, cleans it along with the needle and the float with the carb cleaner, and blow with the compressed air to completely remove all the residues.
Then take out the main jet from the bottom and the emulsion tube to check for the clogged hole in it. Hold it in the direction from where the light is coming to check if any hole is clogged or not. To clean the holes, you can use a small strand of wire. It will do the job satisfactorily. Also, clean the main jet with the strand of a wire.
Now, take out the pilot valve and clean it too with the strand of wire. After that, it is time to clean the air passageways. You can simply spray the carb cleaner into any of the holes and make sure that it comes out of another hole inside the unit. It will clean the passages. Now, everything is properly cleaned. Let’s move on to the rubber seals.
4. Rubber seals
When you are cleaning a carburetor, it is a good idea to replace all the old rubber gaskets with new ones. The carburetor has several of them. If the gasket is worn out, then a gasket from the intake pipe will also result in seal loss for the carburetor. If that happens, then there will be an excess flow of air, and the generator will run lean, which will make a popping sound.
The gaskets are easy to remove, and it can be done with the use of a screwdriver. Take out the old gaskets and fit the new ones properly in place.
Now reassemble the carburetor; try not to over-tighten any screws. Hold the carburetor in place and tighten the holding screw on the unit and connect all the hoses you disconnected while taking it off.
What measures should one take to prevent carburetor-related issues?
The most important measure you should take is to store the portable generator after the fuel from the carburetor, and the engine is completely drained. The major reason behind the need to maintain and clean the carburetor is the ideal time of the generator while the fuel is still in it.
This fuel blocks the inlets of the carburetor, which interferes in the operation of the generator. This phase of unused generators is common in the US as people only need generators when there is a natural disaster or the winter is coming. The use of a generator is seasonal.
Other than that, you can use the fuel system cleaning additive at regular intervals, it is mixed with the gasoline, and when it flows through the carburetor, it gets cleaned. It removes the gum and varnish from the fuel assembly. This will coat the float with the thin oil film, ensuring that the float is sealed.
If you use it periodically, then it will run better, and problems related to the carburetor are less likely to happen.
Final Thoughts
The cleaning of the generator carburetor is necessary for better functioning, better fuel efficiency, and to get the maximum power out of your generator. As discussed, the carburetor vents get clogged with dirt and debris, and the flow of air and fuel is restricted; when there is not enough fuel or air, problems arise.
We have seen why your carburetor needs to be clean and what signs indicate the malfunctioning carburetor. We have also discussed how you can clean the carburetor.
Related Articles:
Generator Guide for Boondocking