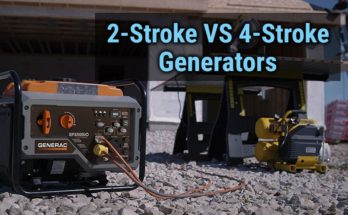
When the power goes out, a portable generator becomes the essential part of a house. It keeps all the things in your house running. To power the appliances of your house, you can either run the cords from a generator to the house, or you can connect the generator to the electrical panel through a transfer switch.
The connection with the electrical panel is a better solution than running many cords all around the house, this may even raise a safety concern since a window, or a garage door will need to stay open to let the cords pass.
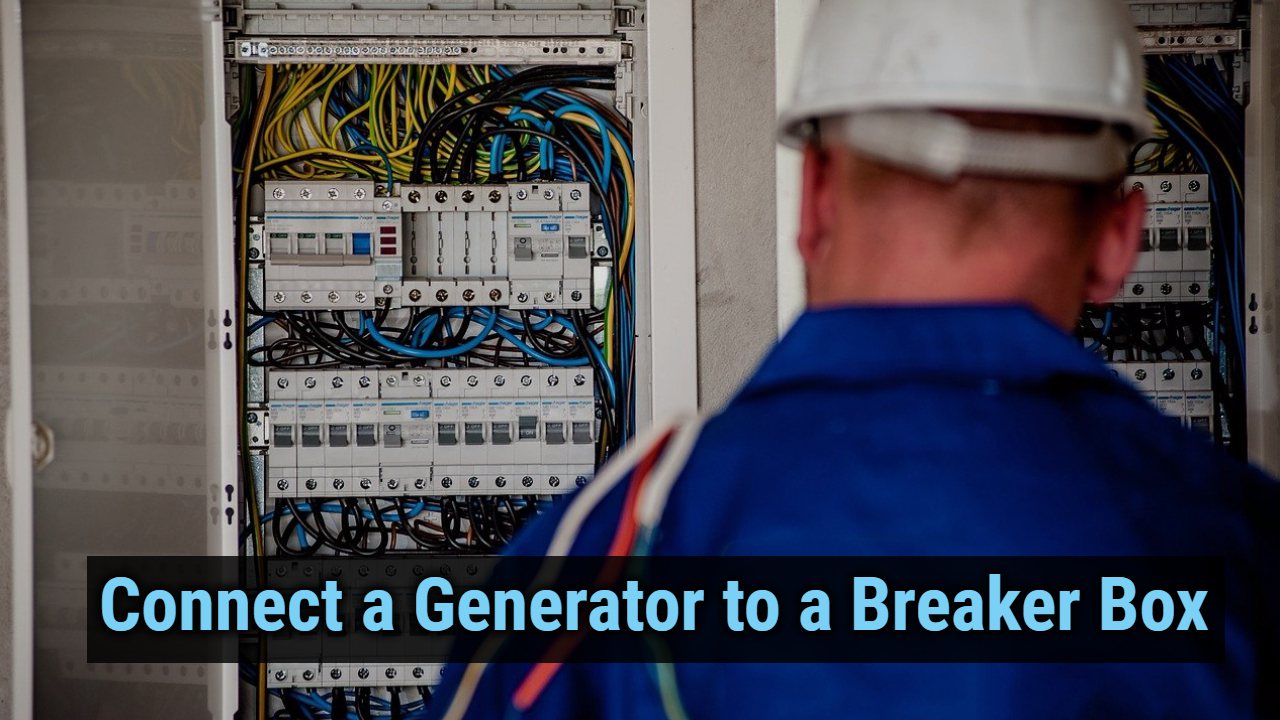
The connection of a generator to a breaker is a complex process, and if you don’t know anything about how the electricity or electrical equipment works, then please consult an electrician. It can turn out to be fatal and dangerous. So, you must understand all the things before attempting any changes to your electrical wirings.
Table of Contents
How to Hook up a Generator to The Breaker Box
If you want to connect the generator to the breaker box yourself, then get ready to get your hands dirty. Before we begin with the steps, you will need to ensure access to the few necessary types of equipment needed.
Bring Together all the Tools that You Will Need
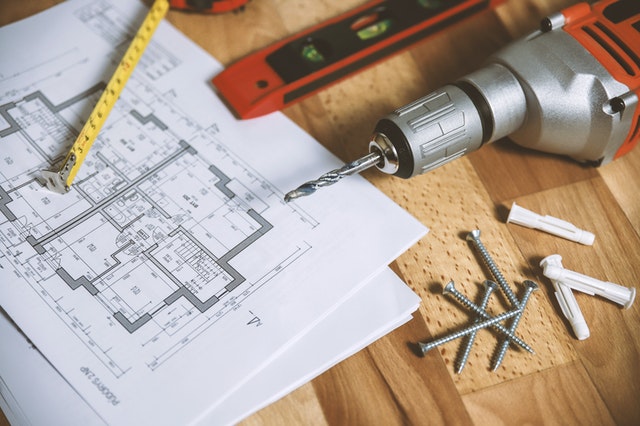
Without tools, you can’t do anything. To get the connection done swiftly, you must have all the necessary tools at a hand’s distance. So, you must gather all the tools and also important parts that you will need for a successful connection.
First, you will need a transfer switch, or you can alternatively get the interlock switch. If you go with an interlock switch, then make sure it is safe to use and is UL rated. The UL rating is provided to any tool for its safety and reliability. A purpose of a transfer or an interlock switch is to keep one power source isolated when another is being used. This eliminates many problems.
Other than that, you will also need a double pole circuit breaker, and this circuit breaker should match the power output of the generator and should also fit in your breaker box. This breaker will be the main isolators for the generator, and it will connect and disconnect the generator power from home.
Moreover, you will need a power inlet box and an extension cord to bring the power from a generator and few wires. The wires gauge should be of sufficient rating. Small wires can overheat and meltdown, which can result in fire or electrocution.
Those were the electrical parts. Now coming to the miscellaneous things you will need, keep handy a screwdriver, wire cutters, and a drill or a hammer drill if the walls of your house are thick.
The electricity is dangerous, so never take it lightly. To keep yourself safe when working with the breaker box, you will need electrical working gloves, shoes, and also good eye protection.
Related Article:
Best Inverter Generator of 2024
The Type and The Rating of an Inlet Plug
An inlet plug will be the first thing in your house that will receive the power from a generator. It will be round and big in size, which will be installed outside the wall. The extension cord from the generator will be plugged into the inlet box from where the power will flow to the electrical panel.
The inlet plug should be waterproof because it will be outside all season and also should match the power rating of a generator. You can check the rating of the plug on itself, and it will be written on it.
When the inlet plug gets installed, the connection is made up to the breaker box from the plug, and the wires will be kept inside the conduit. Now a proper connection needs to be made inside the breaker box, the steps to do that are described below.
Turn Off the Main Power Source
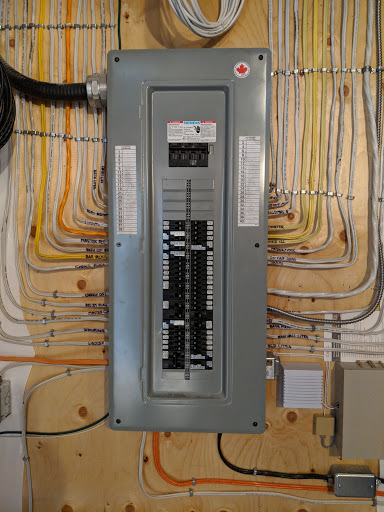
Before approaching the electrical panel turn off the main power source to the house, which means disconnect the utility supply. After the main switch is turned off, check if the power is still flowing or not in the panel, you can do this with the use of a voltmeter or an ammeter.
Only start working when there is no current flowing in the panel.
Once the panel is safe to work, strip the cables; the cables of the gauge 8/3 will be a suitable choice. Cleanly strip the wires up to half an inch. You can use the stripper to do it properly and elegantly.
Make Connections with The Circuit Breaker
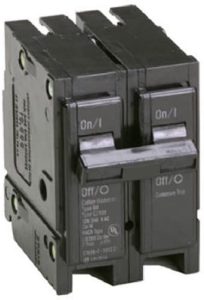
A double pole circuit breaker which you bought to properly fit the breaker panel will have two screws to accommodate the wires. Loosen those screws and push the wires in, the two black wires, the conducting material of which you have just exposed with the stripper tool. Push the wires up to the point where no conducting material is visible outside. Now, tighten the screws.
Change the Position of Existing Breakers
The connections are made; now it is time to install the breaker. You can find a suitable place on the panel and can install it there.
But, your circuit panel may already be full with the existing breakers for different circuits of the house, but to accommodate the double pole circuit breaker, you will need to relocate a few of them somewhere else. It will be good to move them to the bottom of the panel.
Keep in mind that this relocation may not be allowed in some places, so first, make sure that you can do the relocation and only then proceed.
When the breaker is in place inside the panel, you will have to rock the circuit breaker back and forth. This is to insert the tabbed end of the circuit breaker inside the housing. The installation is almost complete. To get it completely done, just snap the circuit breaker on the hot bus bar.
Ground Wire Connection
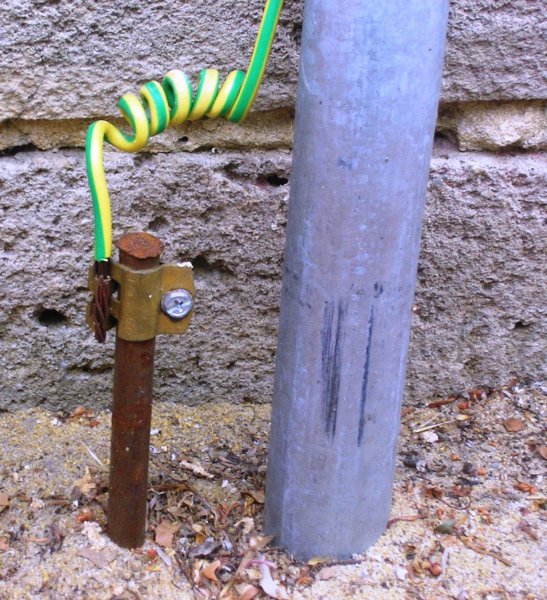
First, check that the double pole circuit breaker fits tightly in the panel. A ground wire will also need to run through the same bar on which the circuit breaker is connected. Now, let the ground wire reach the 240-volt receptacle located at the end of the breaker box and screw it there.
When it is done, connect the 2 black wires to the screws, which are not colored, and the ground wire to the green-colored screw to the inlet box from where the generator power will flow inside the house. You can use the 8/3 cable, and it works perfectly fine for the 40 amp supply.
Attach the Outlets
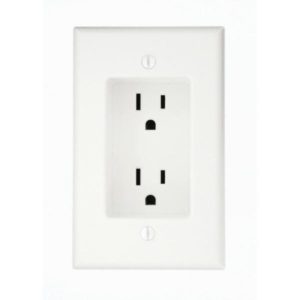
Now everything is almost done, and the final thing that remains is attaching outlets to the wall. When it is done, you can turn on the main power to your house, also turn on the breaker box too. Now, connect the generator to the outlet, and in no time, the generator should start supplying power to the house.
In the end, keep in mind that things will be much easier if the two-line voltage wires are of the same color. You can choose to use the black and red color. It is the most commonly used color for the task. If you are using the same colored wires then, you can mark them with something to easily identify them.